The thing that finally made my launch screening worth anything was not a better filter. It was noticing that I had never once run the same screen twice. I would set a liquidity floor somewhere around fifty thousand, or maybe eighty, depending on what I had been burned by that week, cut to two or three chains depending on where my wallet had gas, and then draw conclusions about the market from whatever came back.
None of those conclusions meant anything. When the thresholds move every session, a shortlist that comes back short could mean the market has gone quiet or it could mean you were feeling cautious on Tuesday. You cannot tell, and you cannot tell later either, because nothing was written down.
The launches feed carries a templates control alongside the filters panel for exactly this reason. What follows is not a pitch for saving things in general. It is the three specific screens I think are worth having, what each one is blind to, and the discipline that keeps a template folder from turning into twenty variations nobody opens.
Safety-first, and the days it is the wrong tool
The first template is the conservative screen. Safety flags clean, liquidity floor set high relative to my normal size, a holder floor, and a tight age band so nothing older than a couple of days survives. Chains restricted to the two where my routing is boring and reliable.
This is the screen for a normal session where I am looking for something to hold for more than an afternoon. It returns very little. That is the design, not a fault, and the discipline is to accept a session where it returns nothing rather than loosening a threshold to manufacture candidates.
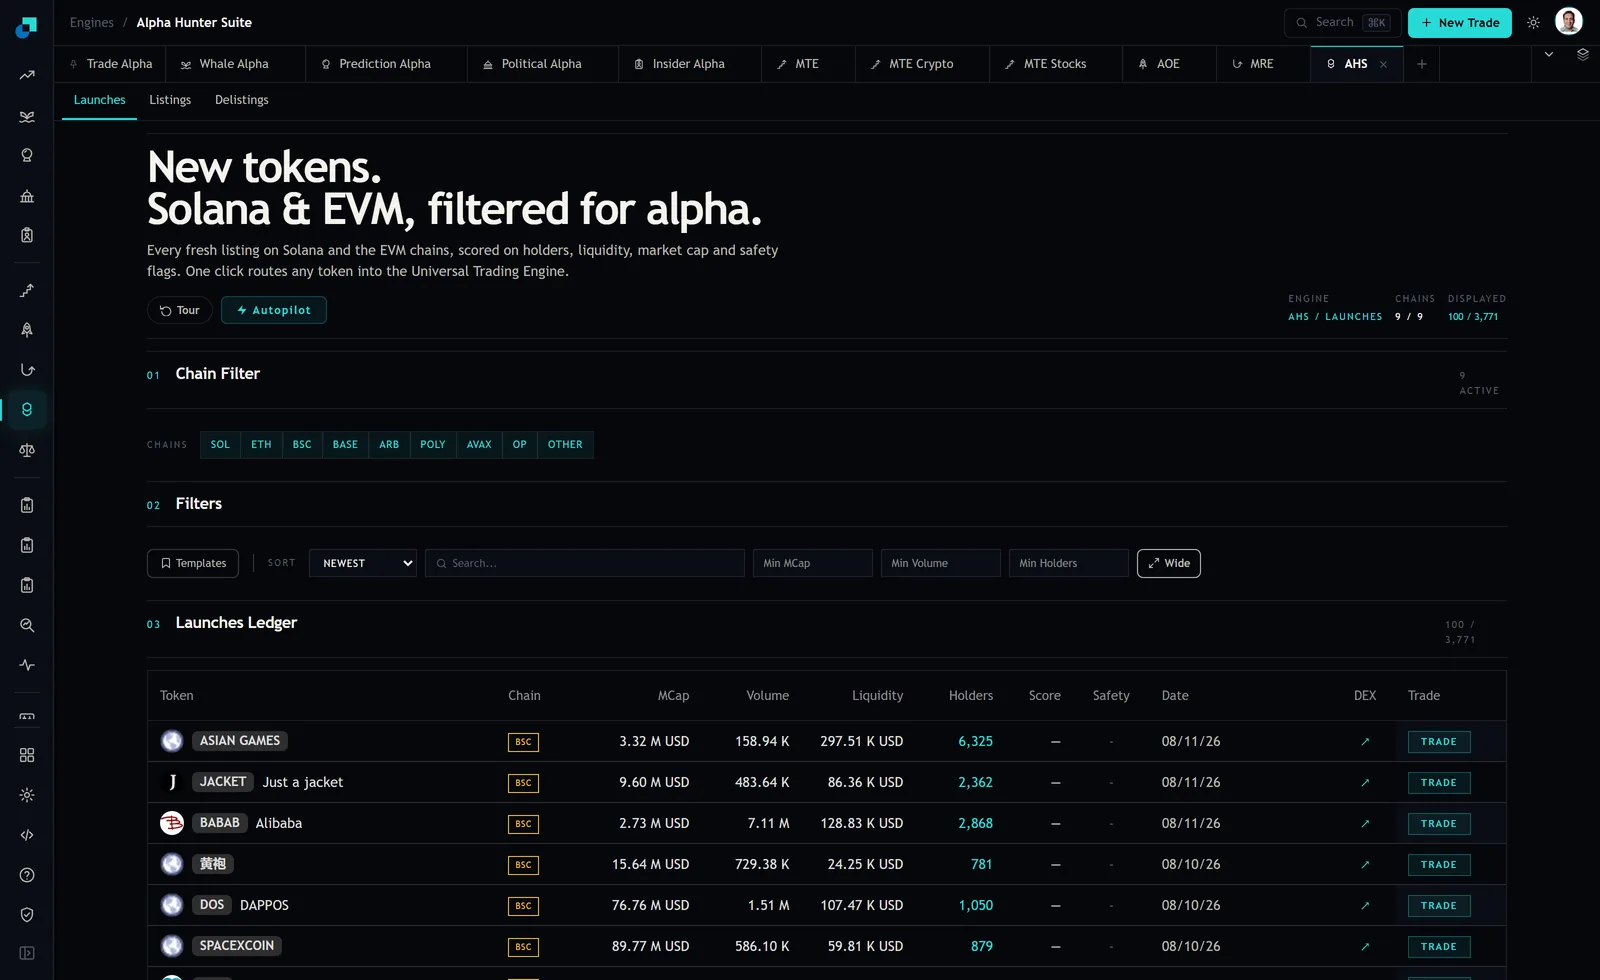
Where it fails is in exactly the conditions where launches are worth screening at all. In a fast week, the tight age band and the high liquidity floor interact badly. New tokens take time to accumulate pool depth, so a high floor combined with a young-only age band selects for launches that were seeded heavily from the start, which is a narrow and not always flattering population. If you only ever run the safety screen, you will notice that the same handful of deployment styles keep showing up, and that is the filter talking, not the market.
Depth-first, for the sessions where size is the constraint
The second template drops the age band almost entirely and pushes the liquidity floor as high as it will go while still returning rows. Safety flags still matter but the holder floor comes down.
The reason this is a separate screen rather than a tweak is that it answers a different question. Safety-first asks what is worth owning. Depth-first asks what I could put actual size into without being the entire order book. Those are not the same list and the overlap is smaller than you would expect.
The arithmetic behind the floor is the only part worth being rigid about. Whatever position size you intend, the pool wants to be at least a hundred times it, which is roughly where a one-shot exit stays near a percent of price impact. So the depth-first template is really a size declaration wearing a filter's clothing, and it needs the intended size written into its name. A floor of half a million is correct for a five thousand dollar position and completely wrong for a five hundred dollar one, where it is just throwing away every candidate you could have traded.
The blind spot here is age. Dropping the age band means this screen will hand you tokens that launched last week and are now simply small caps with a launch-shaped history. Nothing wrong with those, but they are not the trade the launch feed is for, and if most of your depth-first results are four days old then you are using the wrong module.
Holder velocity, which only works if you run it twice
The third template is the one I get the most out of and it is the least self-contained. It sets a low holder floor, a modest liquidity floor, a young age band, and sorts newest. The point is not the rows it returns. The point is the rows it returns compared to the rows it returned the last time you ran it.
Holder count as a level tells you very little, because it is cheap to manufacture. Holder count as a rate of change tells you whether distribution is actually happening. A token whose holder number climbs steadily across successive refreshes is doing something a token sitting at a flat number is not, and the only way to see that is to run the same screen at two points in time and compare.
Which means this template has an operational requirement the other two do not. You have to run it on a schedule, twice a session at minimum, and you have to note the numbers. If you are not going to do that, do not save this template, because a single reading of it is strictly worse than the safety-first screen and will feel just as authoritative.
Naming them so you know what you are looking at
The names are load-bearing and most people waste them. A template called "my screen" or "aggressive" tells you nothing three weeks later. Two things belong in the name.
- The size assumption, in dollars. This is the single most valuable thing to record, because every liquidity floor is a claim about position size and that claim is invisible once the template is saved. A name that reads as a five hundred dollar depth screen cannot be misapplied to a five thousand dollar position by accident.
- The date you last touched the thresholds. Not because the template expires, but because it tells you whether the thresholds reflect current conditions or a market that no longer exists.
Everything else belongs outside the name. If you find yourself encoding the chain list into it, you probably want two templates rather than one long name, and that is fine.
The templates that should be deleted
Template folders rot in a predictable way. You save a variant to test something, it works once, and now there are nine screens and you open whichever one you scrolled to first. That is worse than having none, because it feels like process.
My rule is that a template earns its place by being the answer to a question I ask regularly, and three questions is about the honest limit. What is worth owning, what can take size, and what is actually distributing. If a saved screen is not the answer to one of those, it is a saved experiment and it should be deleted once the experiment is over.
The second rule is that thresholds change deliberately or not at all. When I want to move a liquidity floor, I move it in the saved template and note why, rather than adjusting it live and leaving the saved version stale. A template that no longer matches how you actually screen is the most expensive object in the folder, because you will trust it exactly as much as the ones that are current.
The payoff for all of this is not speed, though the screens do get faster. It is that when a name from a shortlist works out or goes badly, you can go back and ask which screen produced it and what the thresholds were on that day. That question has an answer now. It did not before, and without it every session is the first session.